Change text color with `chalk` and `gradient-string` inside `react-blessed`
July 29, 2020
This is the 7th post in a series where we will be creating a developer dashboard in the terminal using react-blessed and react-blessed-contrib. For more information about the series and to take a sneak peak at what we're building, go to the 1st post in the series for more context.
- Bootstrap
react-blessedApplication - Add ESLint Rules to
react-blessedApp - Change text font with
figlet - Extract Component and Add
useIntervalhook - Fetch and display current weather with
weather-js - Extract custom hook to simplify data fetching
- Change text color with
chalkandgradient-string - Position and Align Text inside a
<box>Element - Make a Percentage Based Layout
- Layout Dashboard with
react-blessed-contribGrid
NOTE: You can find the code for this project in GitHub and you watch the whole Build a Terminal Dashboard with React video series on egghead.io.
Current Application
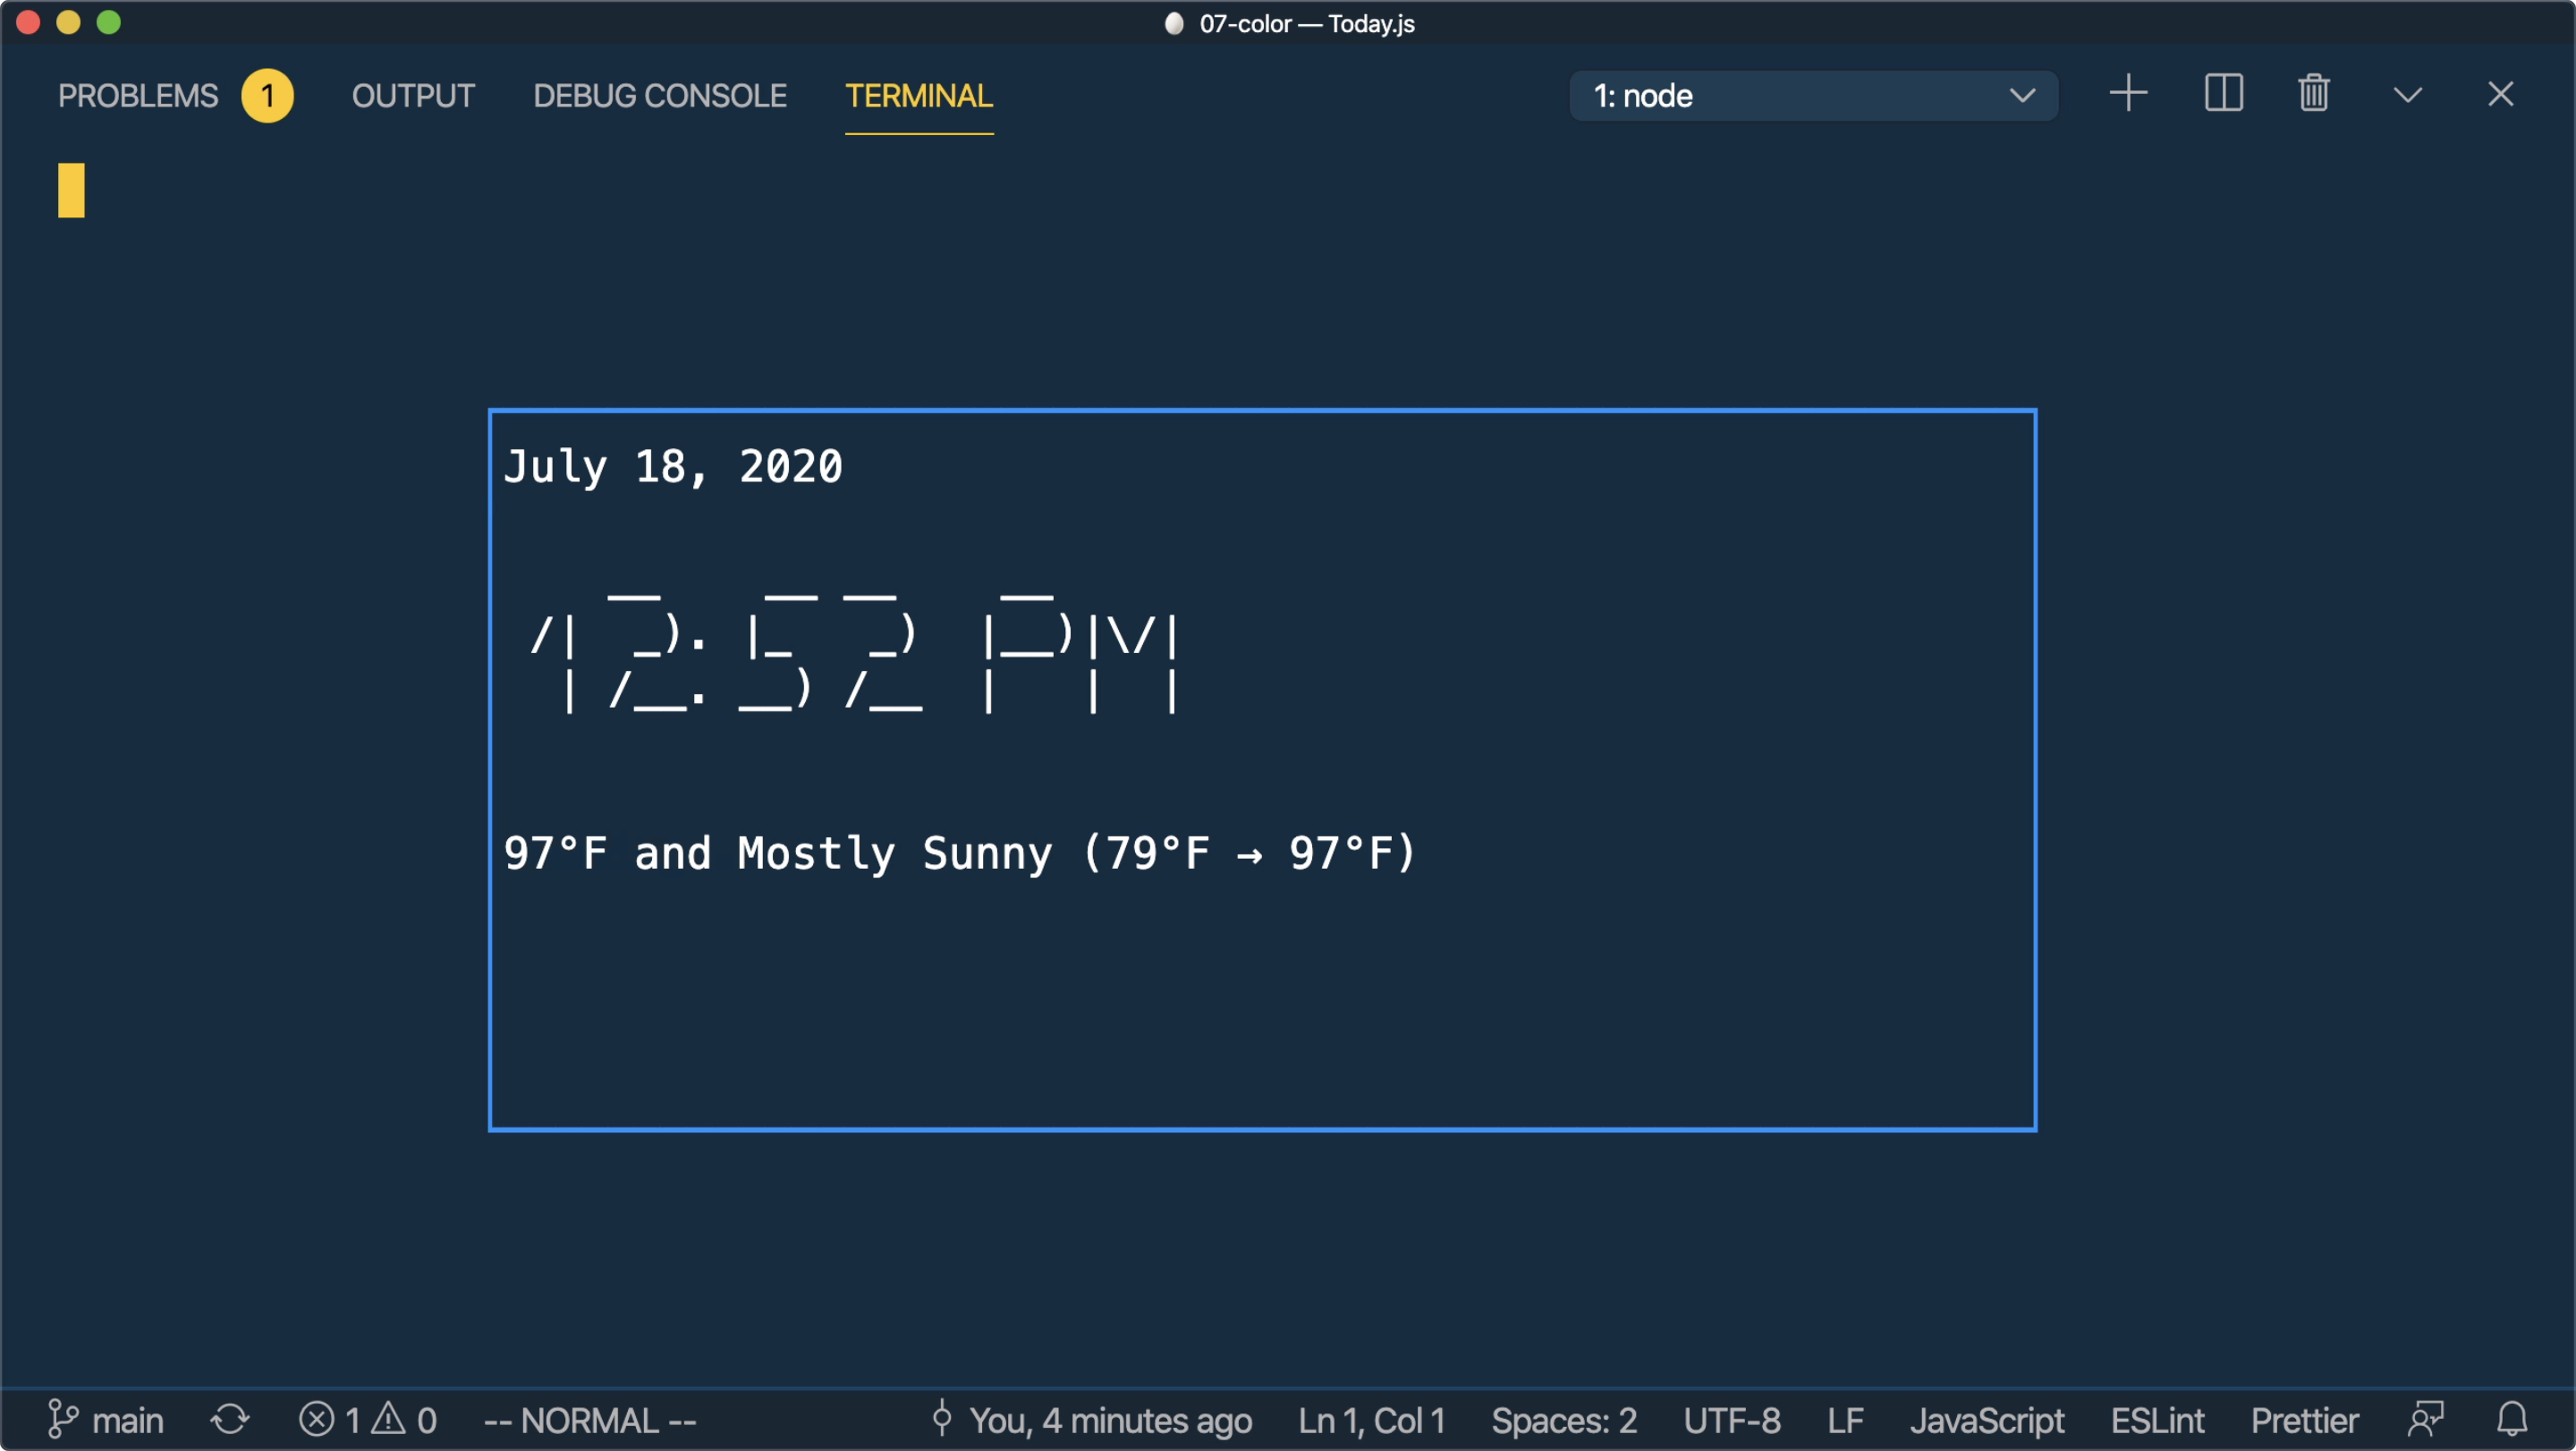
Here we have the beginnings of a React Terminal Dashboard. If we run our application with npm start you'll see a box displaying the date, time, and the current weather. However, at this point things are pretty boring (other than the fancy ASCII art). So, let's do something about that.
Chalk
To add color to our terminal application we'll use a node library called chalk.
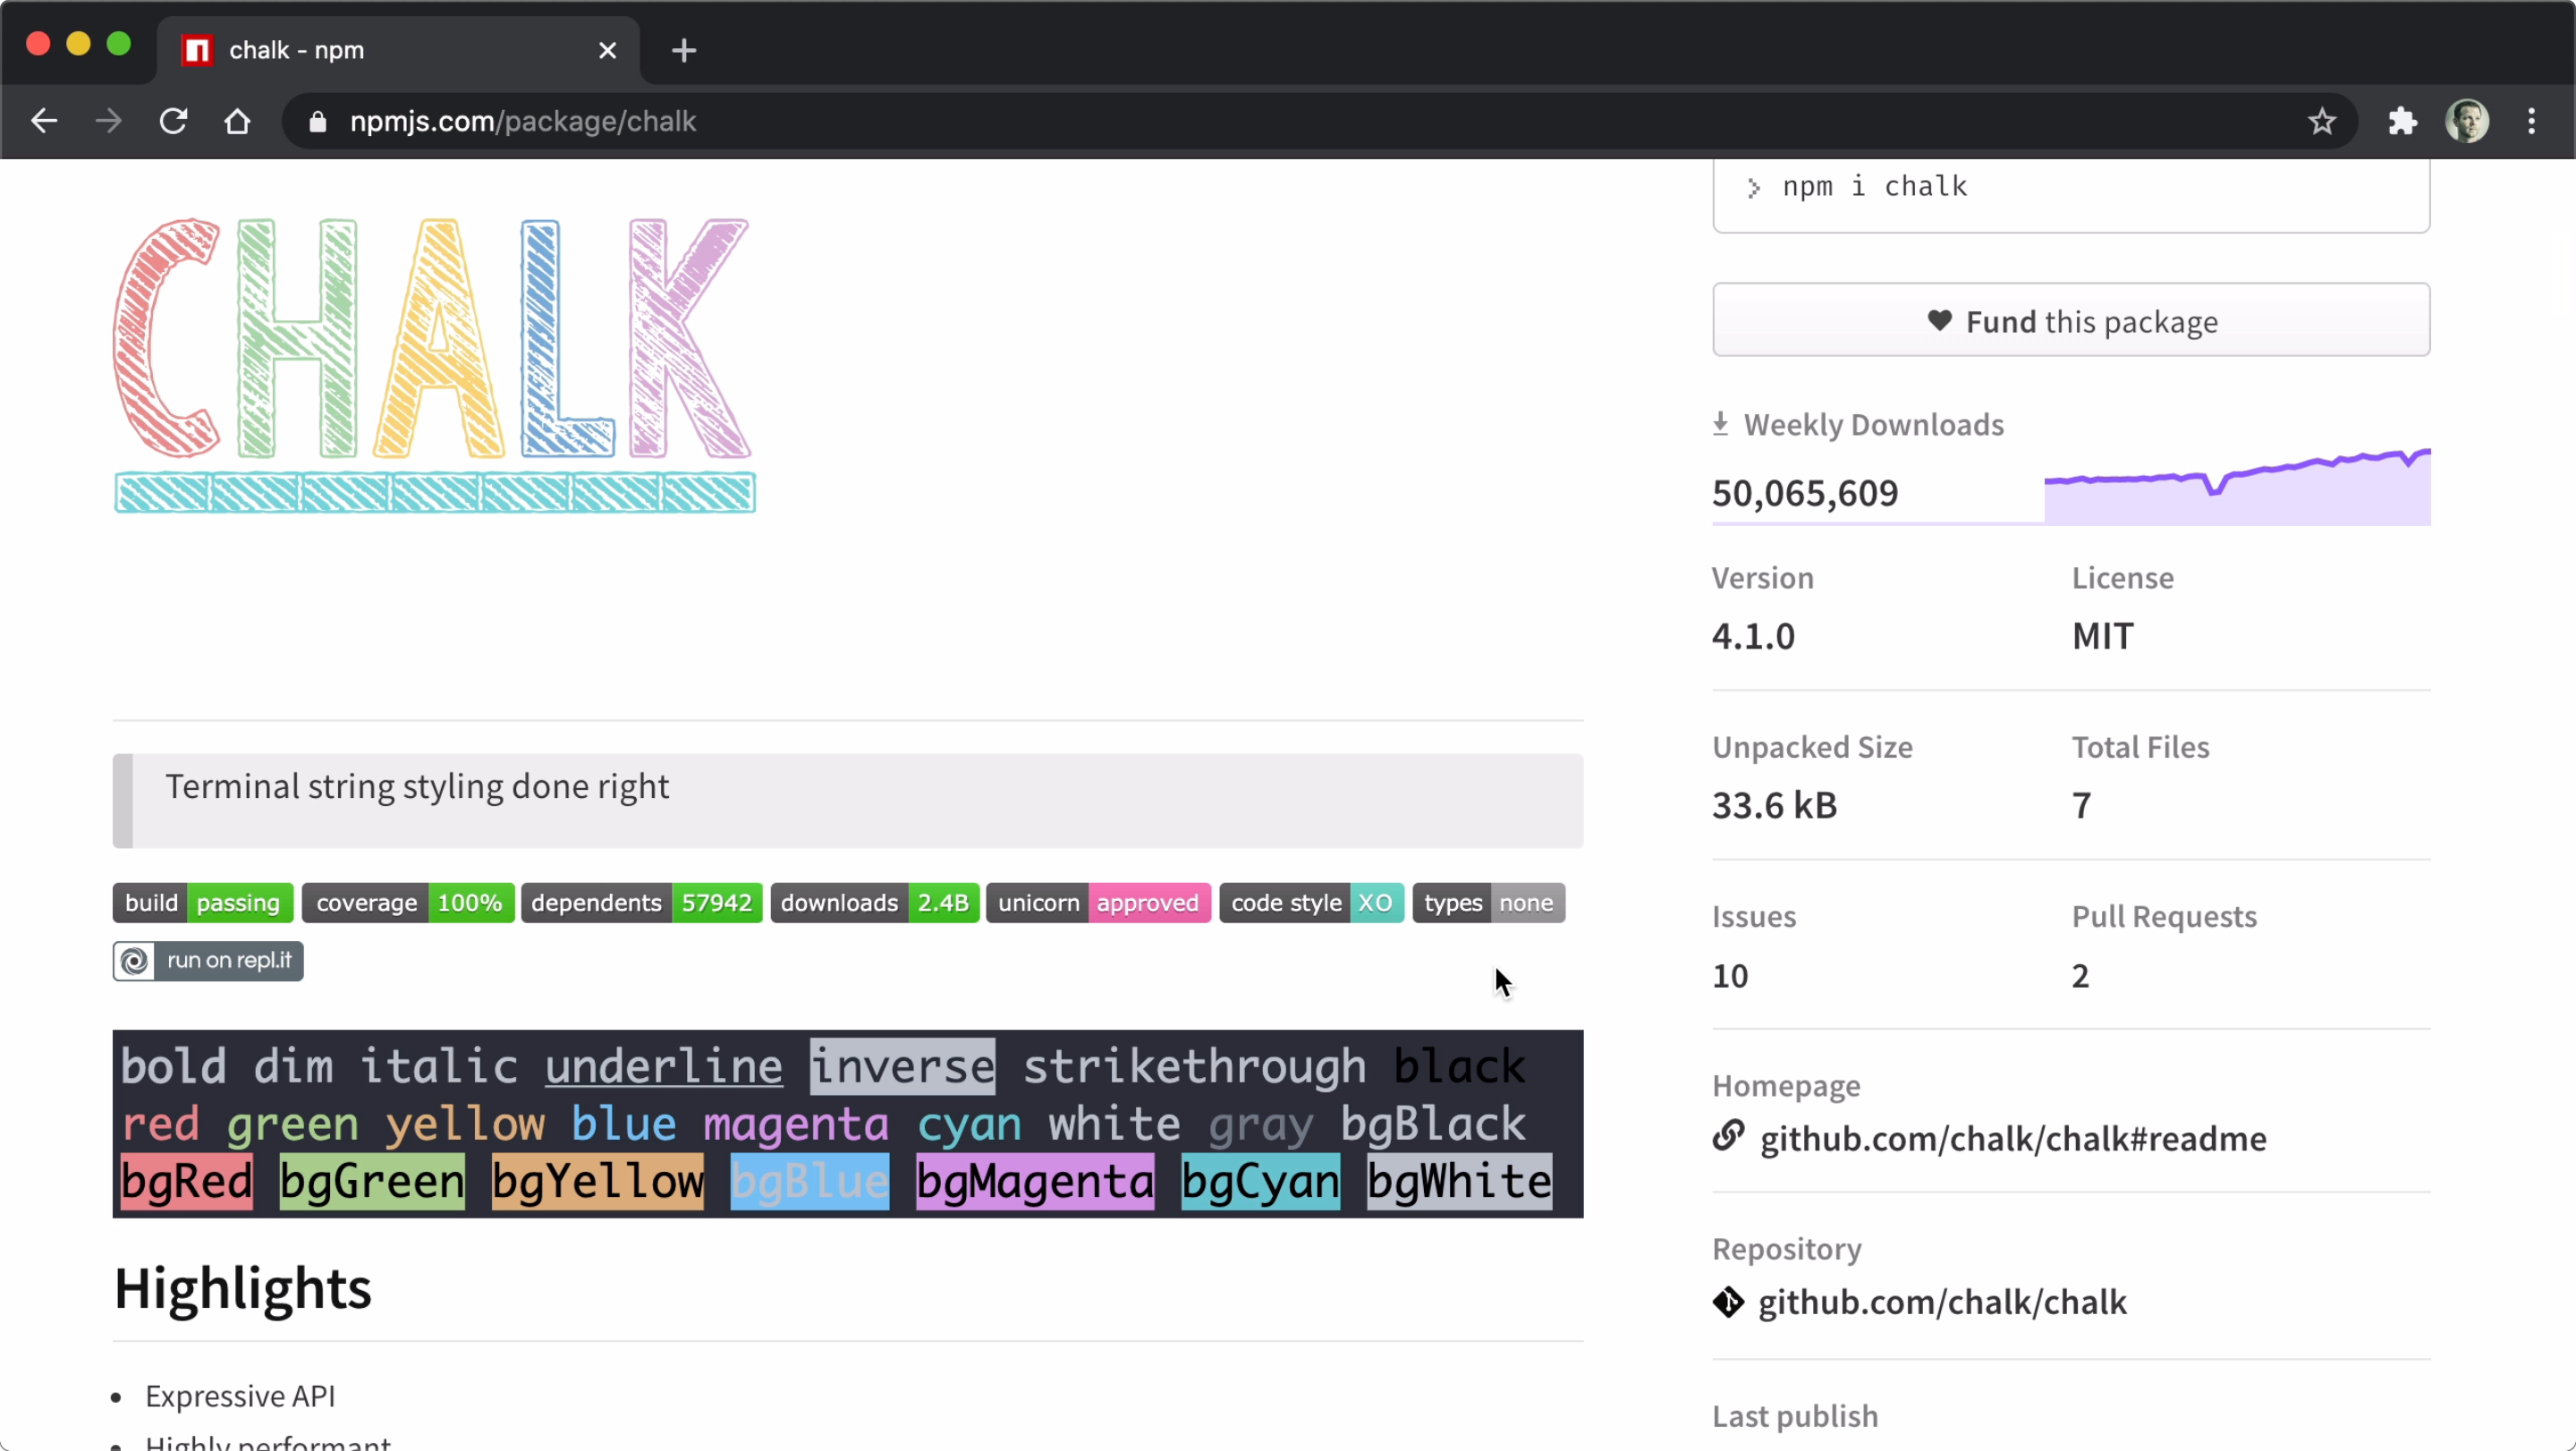
You can manually add colors using ANSI escape codes, but the chalk library provides a much nicer API
// Manually using ANSCI escape codes
console.log('\x1b[31mHello World\x1b[0m');

// OR use the chalk API
console.log(chalk.red('Hello World'));
Install
To start using the chalk module, we'll install it from the terminal using the following command.
npm install chalk
Update Date and Weather
We'll focus first on updating the date and weather information inside our Today component. To begin import the module at the top of the file with import chalk from "chalk". Then, inside the <box> element, where we are displaying the date, we'll wrap date with chalk.blue. To update the weather, we'll update the formatWeather function and wrap the temperature, conditions, low, and high variables also with chalk methods.
/* … */
import chalk from 'chalk';

const formatWeather = ([results]) => {
  const { location, current, forecast } = results;
  const degreeType = location.degreetype;
  const temperature = `${current.temperature}°${degreeType}`;
  const conditions = current.skytext;
  const low = `${forecast[1].low}°${degreeType}`;
  const high = `${forecast[1].high}°${degreeType}`;

  return `${chalk.yellow(temperature)} and ${chalk.green(
    conditions,
  )} (${chalk.blue(low)} → ${chalk.red(high)})`;
};

export default function Today() {
  /* … */
  return (
    <box { /* … */ }>
      {`${chalk.blue(date)}`}

${/* … */}

${
  weather.status === 'loading'
    ? 'Loading...'
    : weather.error
    ? `Error: ${weather.error}`
    : formatWeather(weather.data)
}`}
    </box>
  );
}
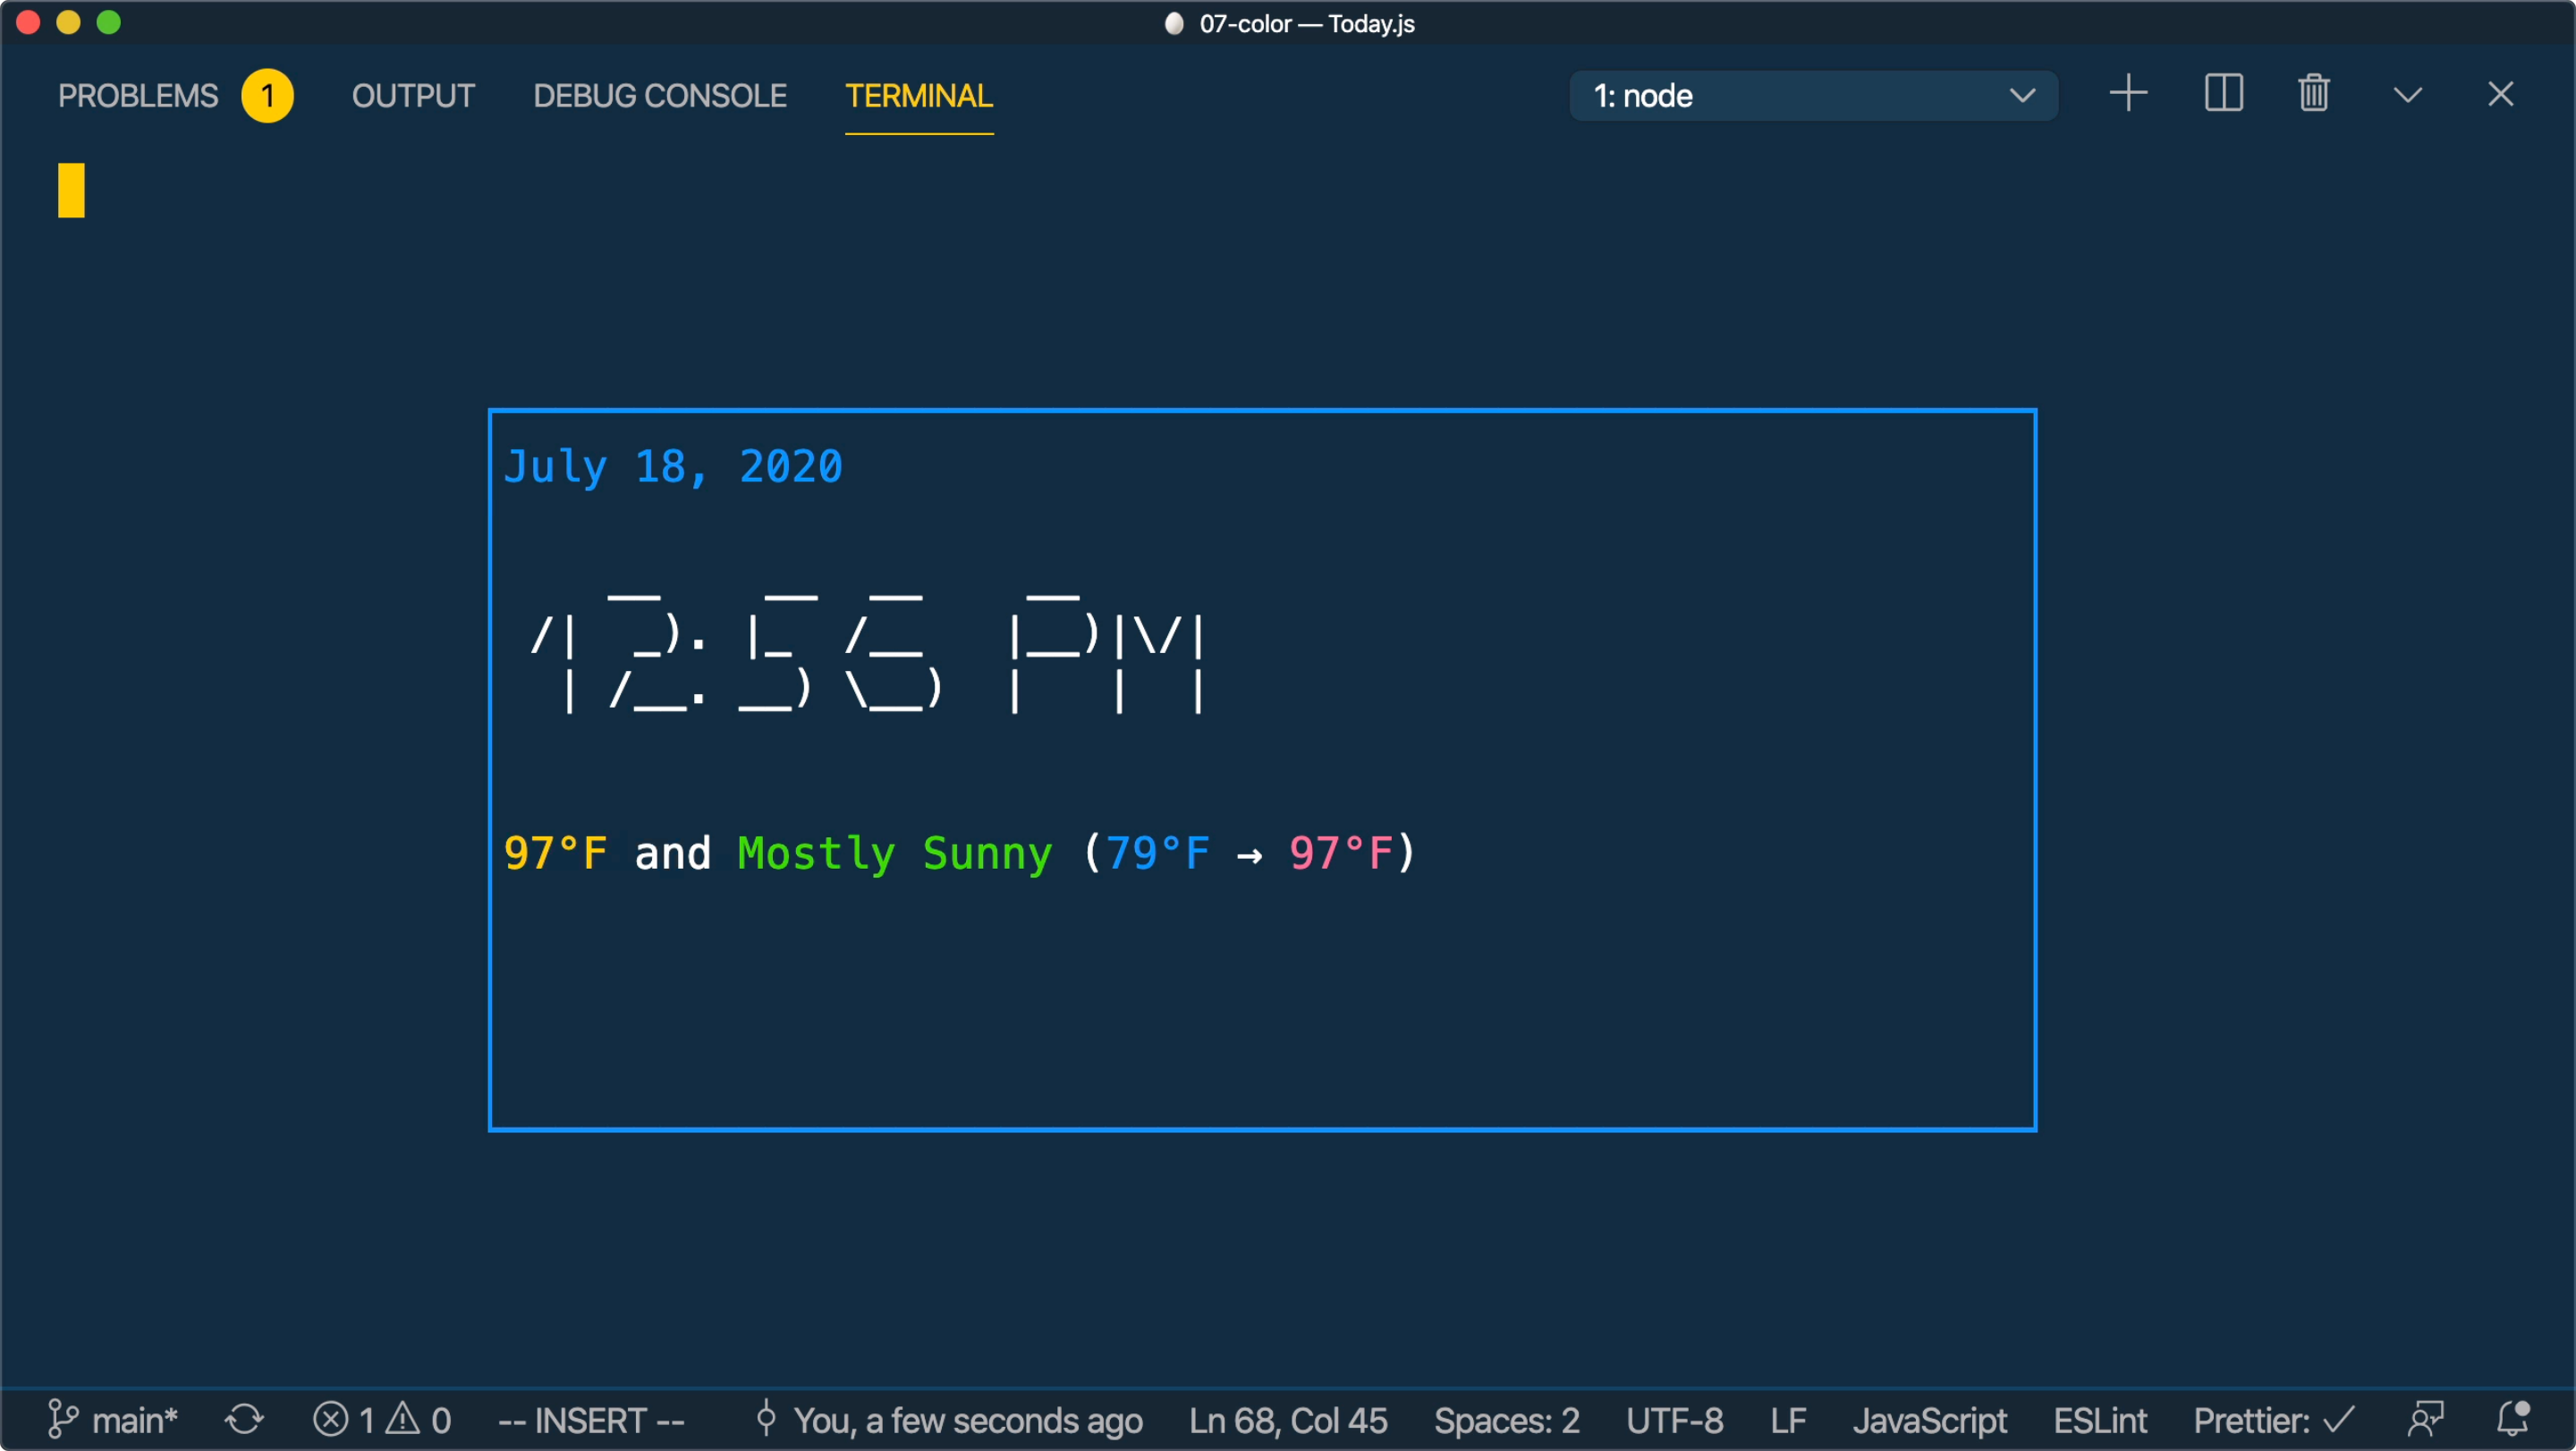
The results so far of our colorization process is the following.
Gradient String
For our time, however, let's do something a bit more fun.

We'll use a library called gradient-string that will enable us to have some interesting color effects.
Install
To start using the gradient-string module, we'll install it from the terminal using the following command.
npm install gradient-string
Update Time
Now, we can come back to our Today component and import gradient from gradient-string at the top of the file. Then inside our return statement we'll wrap our time variable with gradient.rainbow.multiline (since we are dealing with multi-line content).
NOTE: If you don't use the mult-line method the outcome won't be the desired results. If your content is not multi-line, then using the method is not necessary.
/* … */
import gradient from 'gradient-string'

export default function Today() {
  /* … */
  return (
    <box { /* … */ }>
      {`${ /* … */ }

${gradient.rainbow.multiline(time)}
${ /* … */ }`}
    </box>
  )
}
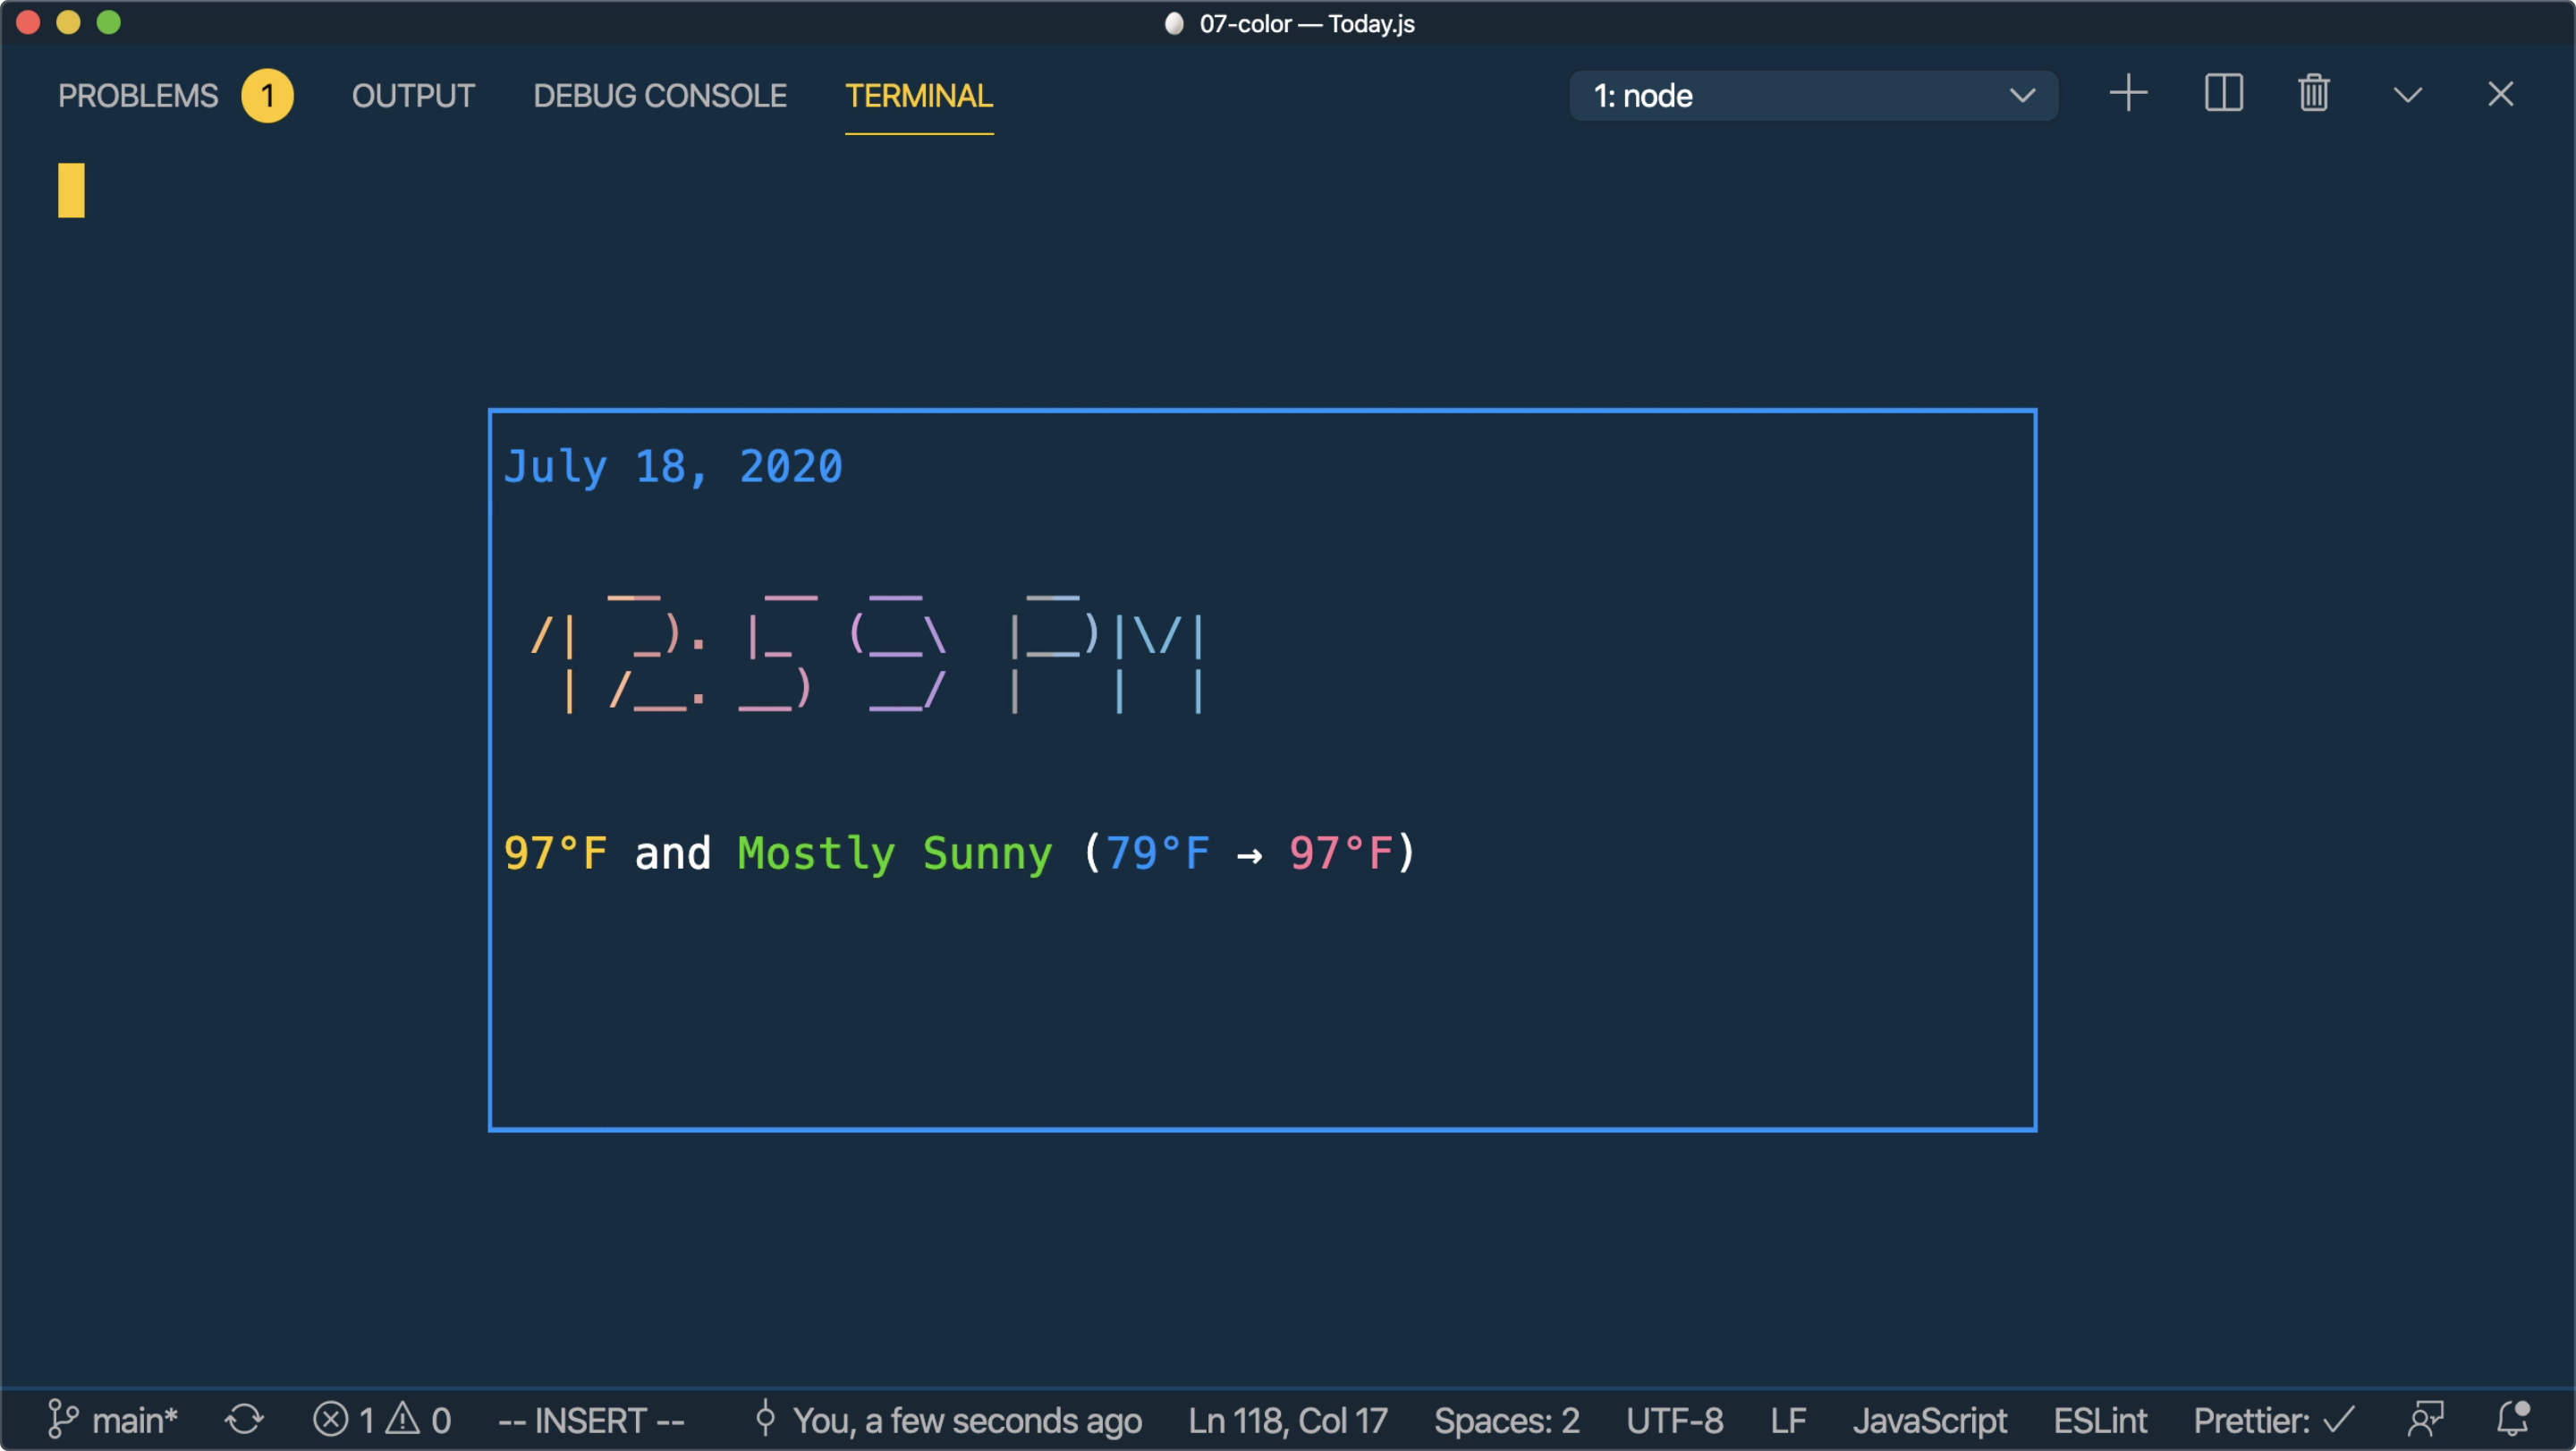
Now when we run our app the results have a neat rainbow gradient!
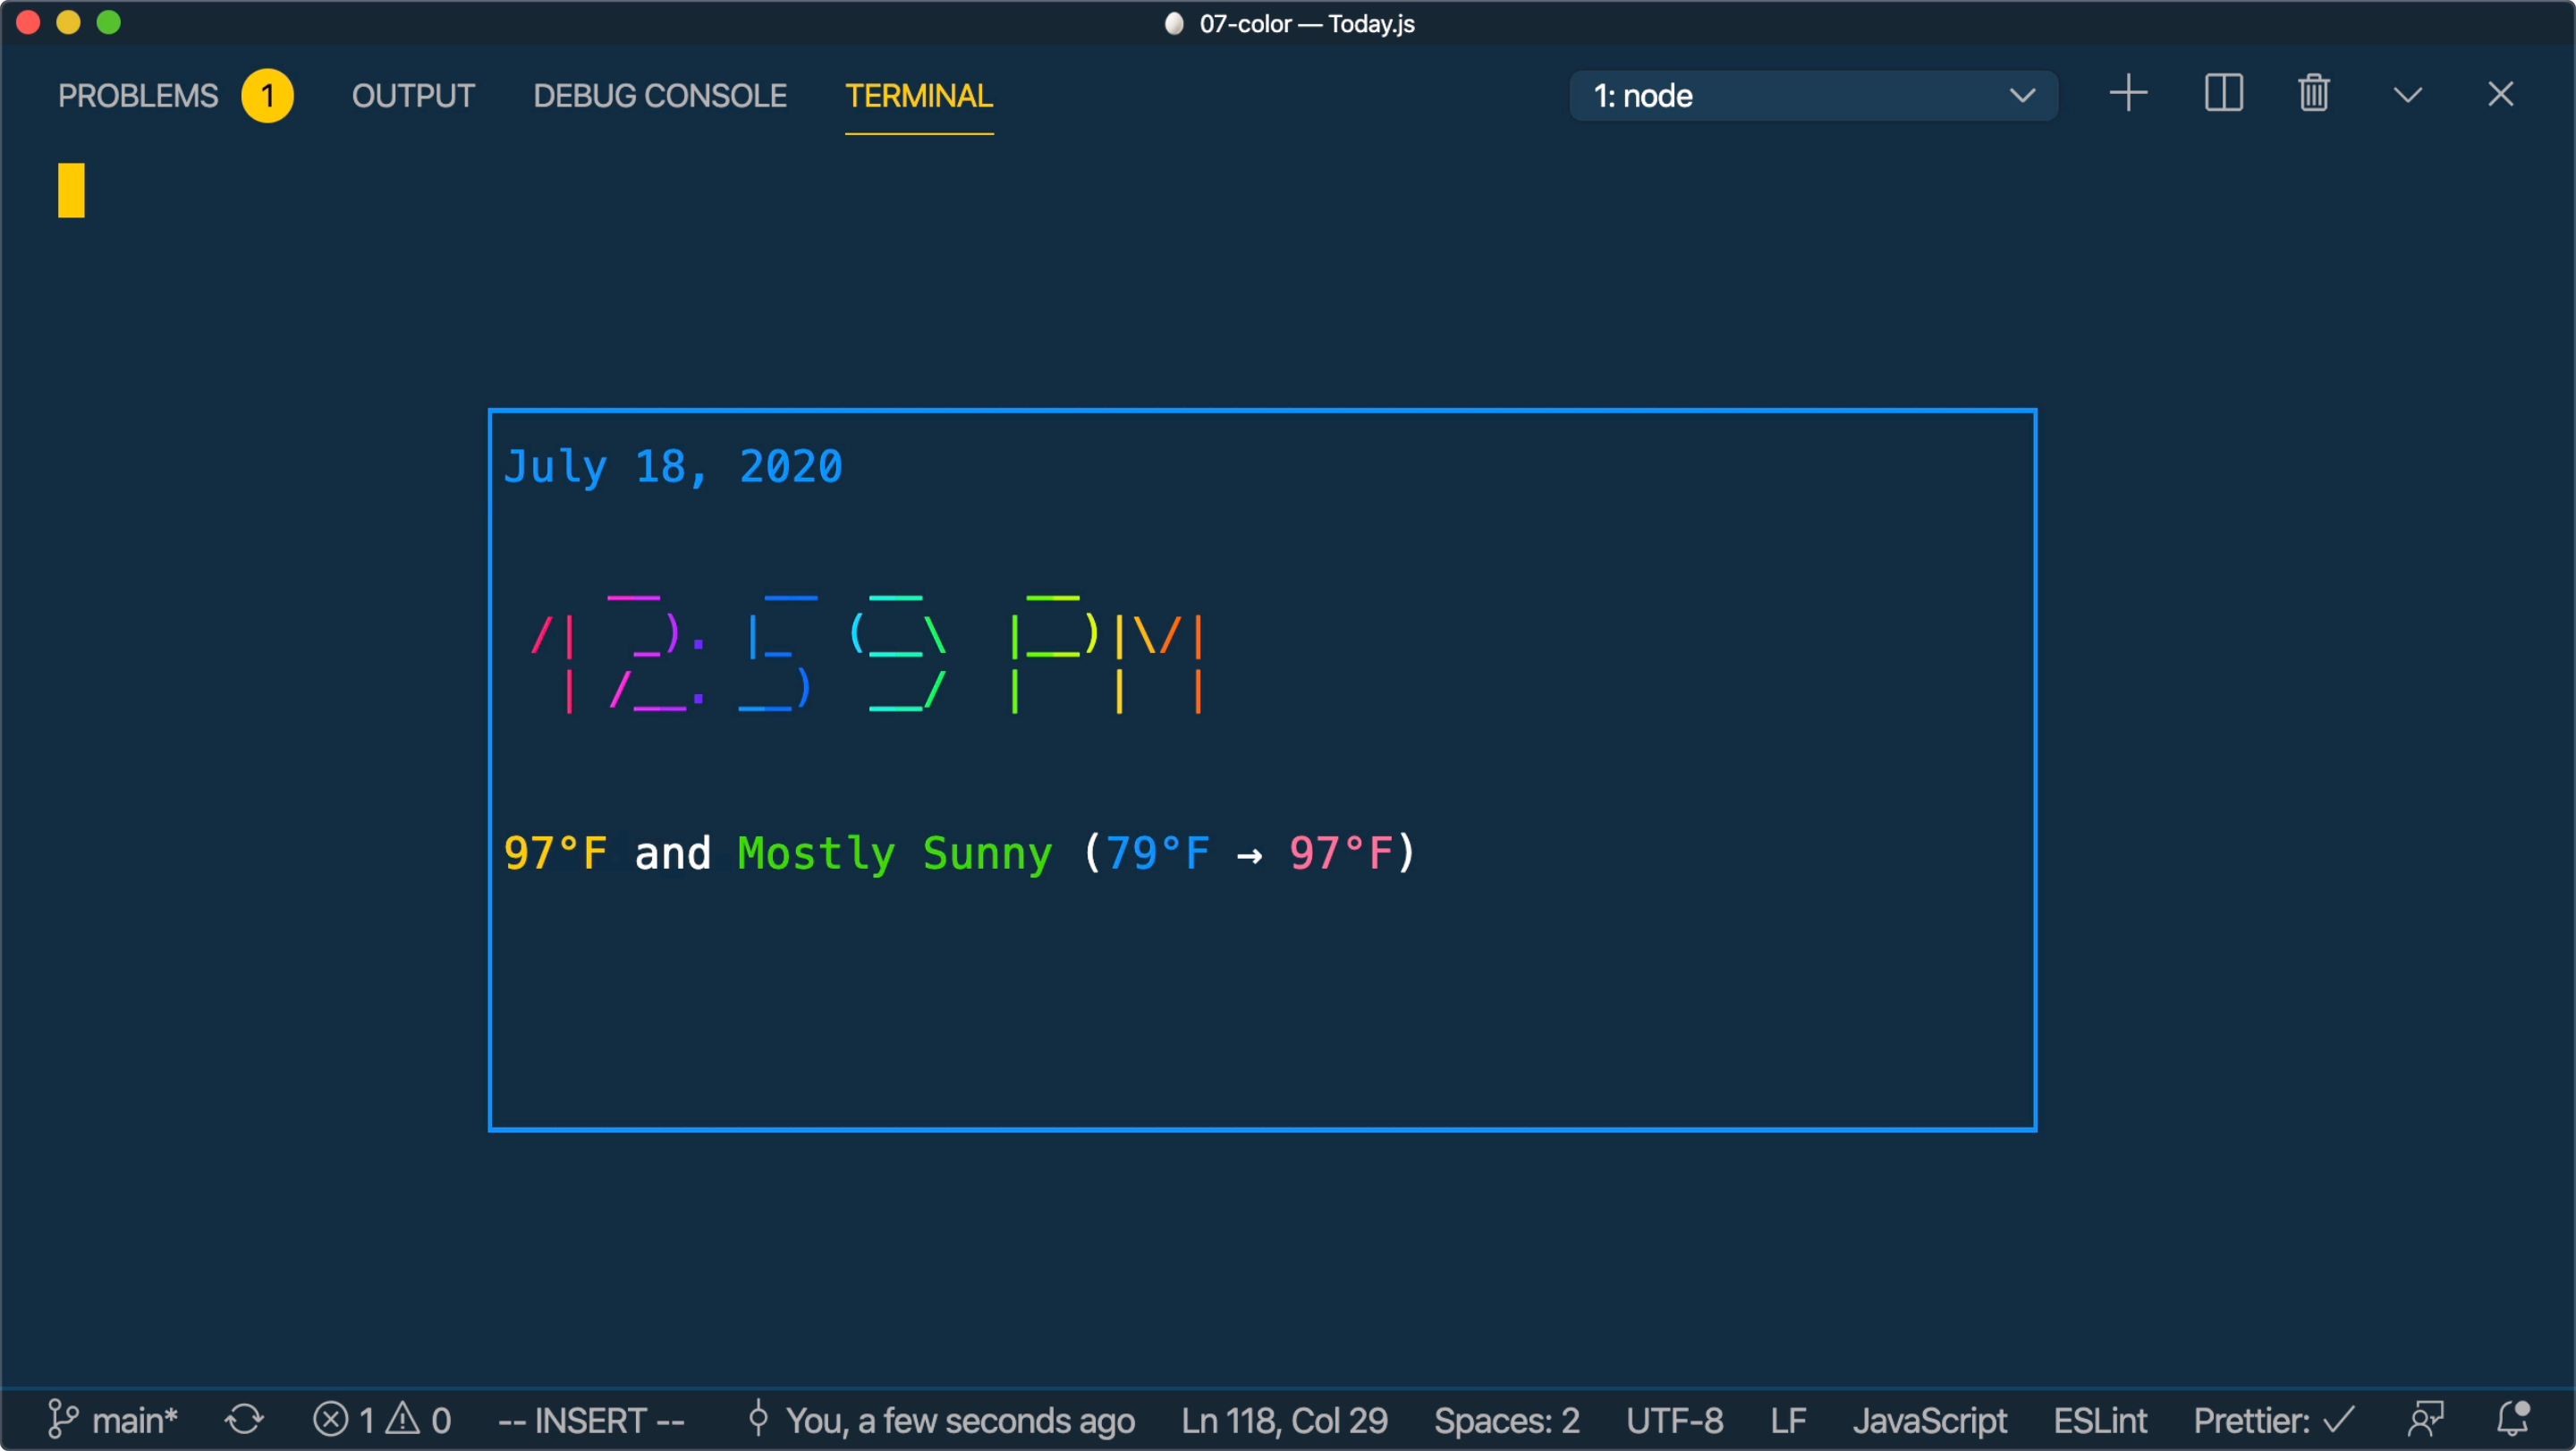
The library has lot of other built-in gradients that you can use or you can create your own! I've tried a few and I tend to like the atlas gradient, which is shown below.
Conclusion
Adding a bit of color and gradients to a terminal app is a small thing, but it brings a nice variety to the app. The next lesson will focus on how to position elements within the <box> (top, right, bottom, center).
Tweet about this post and have it show up here!